Video Tutorial
Video Tutorial Transcription
Hi there, and welcome to this tutorial on how to use Relief Maker with Meshcam. In our project today, we're going to try to mill a relief of this giraffe. So we've loaded the giraffe model, and the first thing that we want to take a look at is how to get a side profile, which is what we're after.
We notice one thing right off the bat, which is that we don't want the back ears and the back horn to show, but we can't really angle it in such a way that that is achieved. So one thing that we can do is to change the perspective and amp it up a little bit higher. When we do that, we notice that we get obfuscation of the back, which is kind of what we're after.
The next thing that we want to do is figure out the output width and the output height. Now you might be tempted to create a super high resolution output and then bring that into Meshcam, but you're going to have two problems. The first problem is that you're not going to be able to machine the detail at the level that it would be outputted at, and so it's frankly just wasteful.
But the more important issue you'll run into is if you give Meshcam extraordinarily large files, two things will happen. The first is that the view interaction will come to a crawl. And the second, and this is kind of unavoidable, is that the machining operation calculations will take forever.
And so you're probably going to experience some crashes, things like that. And so it's better just to be reasonable with your output width and output height. And a good rule of thumb is to follow something like this chart.
The first thing you might need to figure out is what is the physical size of this object that we're trying to machine. And so for our purposes, we're going to say it's two feet by two feet. And then the next thing to figure out is what is the DPI that you're looking for.
In most cases, somewhere between 72 and 150 DPI, or dots per inch, which is an old printer term and also a monitor term, but it's applicable here too as a proxy for wrapping your head around this stuff. In any case, somewhere between 72 and 150 DPI is going to be what you can realistically expect when you're milling in wood. And for our purposes, we're going to start with 72 to see if we can get away with that, because the lower you go, the better your life is in general, as long as you're getting the physical results that you want.
So at two feet and 72 DPI, we're at about 1730 pixels. So we're going to go back into Relief Maker, and we're going to choose our output width and height as 1730, 1730. At this point, we can click Generate Relief.
And now we'll rotate it and just kind of make sure that we're getting the kind of results that we want. In this case, this looks a little bit too distorted, and that's probably because our perspective might be a little bit too high. So let's go ahead and amp that down just a little bit.
And we'll try that again. And there is much more reasonable. So if we wanted, we could change the things like the height scale.
Maybe we change this to 80. Try again. And we'll see that we get a little bit more definition.
It's going to go up a little bit higher. But this is pretty good for what we're trying to do. So at this point, we basically need to choose how we're going to get it into Meshcam.
There are two options. The first option is to export an STL file. And the advantage of exporting an STL is that it's going to be exactly what you see here.
The other option is to export a PNG file, a PNG of a height map. And the advantage to doing it this way is that you can kind of dynamically change the height on the import of that model once you get into Meshcam. And so especially in cases where you might be using the same basic thing that you're looking at Relief Maker on differently sized thicknesses of stock.
Maybe you have a inexpensive one-inch thick, a kind of shallow relief version. And you have a much more expensive three-inch thick significant relief version. Well, you can create both of those versions in Meshcam from the same PNG output from Relief Maker.
So it affords you a little bit more flexibility. Exporting an STL and opening an STL in Meshcam is pretty straightforward. We're not even going to cover that today.
Today, we're going to talk about the more interesting workflow, which is exporting a height map. So let's go to File, Export Relief. And here we're going to call it giraffe.
And we're going to select 16-bit height map and press Save. So at this point, we're done inside Relief Maker. We're going to jump into Meshcam.
The first thing we want to do in Meshcam is load the giraffe model that we just made. So select it. And now it needs to know how to process this image to the correct size.
We determined earlier that we're going to do two feet by two feet. And so that's 24 by 24 inches. And then the Z size is where you have the capability to scale the model to a physical value.
And so in our case, we're going to choose a value of 1.5. And this is in inches. And then our pixels per inch, we kind of deliberately decided we were going to use 72. And so we scaled the output resolution to be consistent with that.
And we're going to choose 72 here. For the height mapping, Relief Maker outputs things where black is the Z minus. And so just leave that as the default.
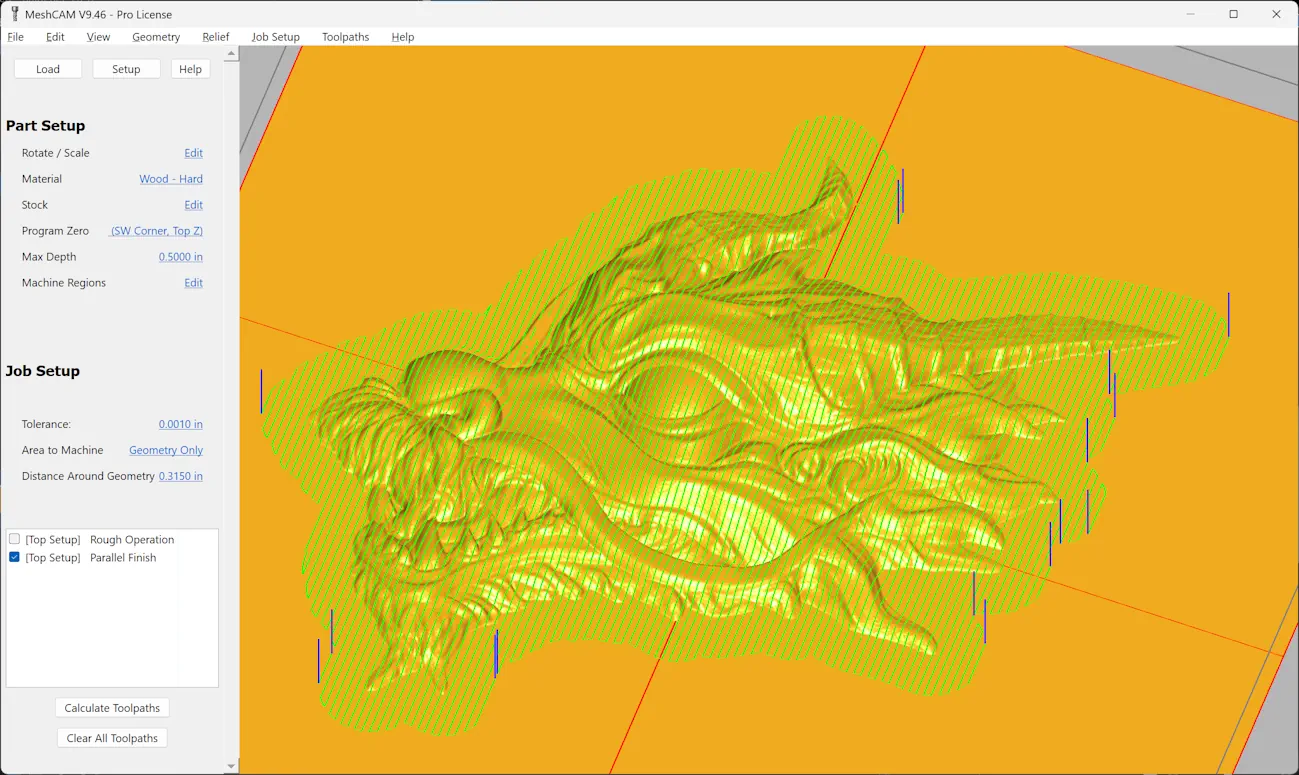
And let's press OK. Here we can see our model has been imported. And let's go ahead and zoom in a little bit.
Because you might see things like this stair-stepping effect. And it's important to know that what you see on your computer screen with this computer graphics lighting really exposes this kind of thing. But when you actually machine this in a piece of wood, these differences are so minute that you won't be able to see them.
However, if you are interested in maybe trying to get rid of a little bit of this stuff, be aware that you can go to the Relief section and choose Smooth Relief. And I would recommend starting more conservative than very high. But somewhere in this range, and press OK.
And you cancel at any time to stop the smoothing process. But it doesn't go back to what it originally was. It just stops the smoothing.
The disadvantage of this is that you do lose some of the hard edge detail. But for your model, that may not be important. You can probably skip entirely the smoothing process.
And once you start milling a few of these, you'll get an intuitive sense of whether this extremely fine detail that is probably at the micron level, realistically, is going to show up once you actually mill it. It probably will not. In any case, there's lots of different approaches you can take to play with that, including smoothing, including exporting higher resolution.
But overall, you're going to get absolutely stunning results with something like you see here. And we cannot wait to see what you make.