fbpx
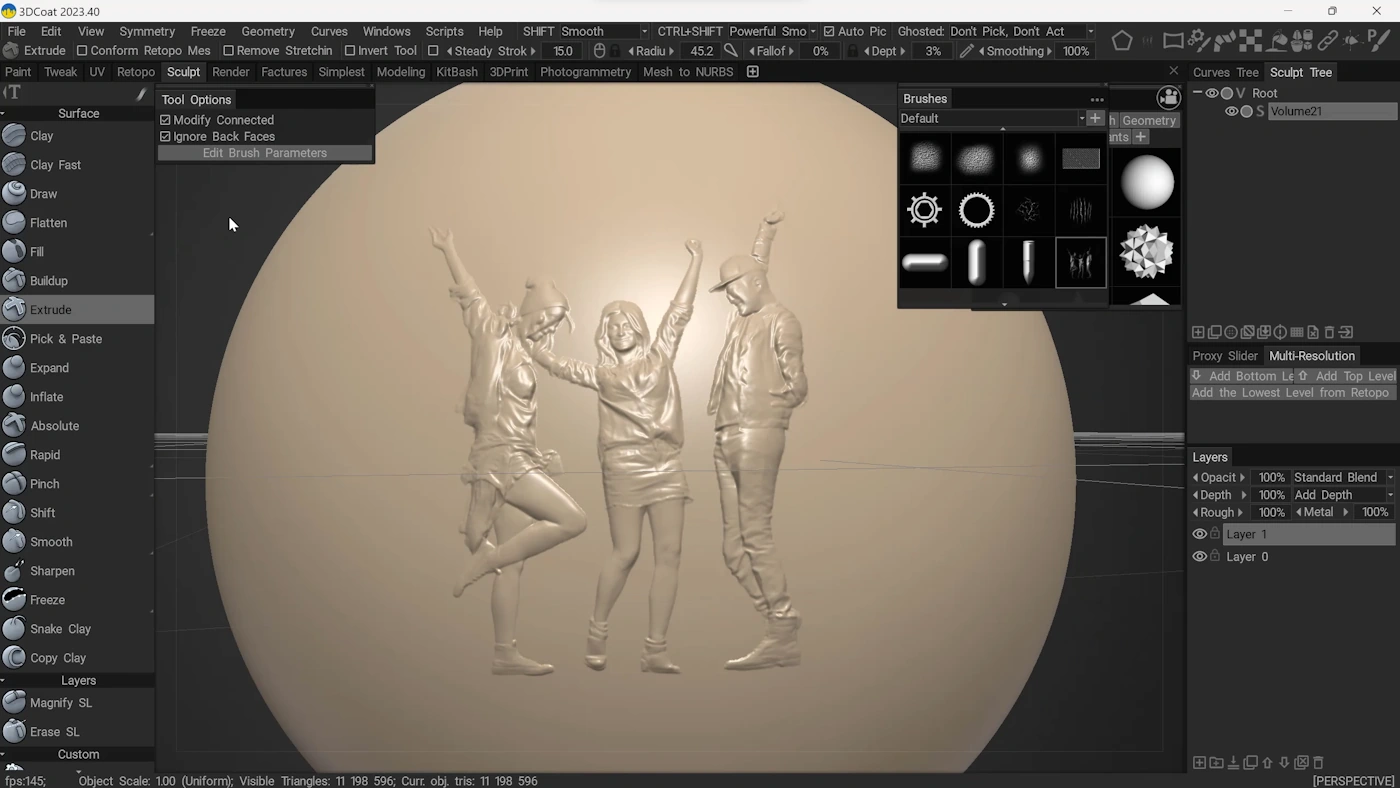
Take customization and capability to a whole new level. Deliver what your competition cannot - astounding artworks quickly and easily.

Create Relief Models For 3DCoat

Relief Maker is the ultimate tool to create manufacturable 3D reliefs from 3D models - at any angle - that can be added to projects inside 3DCoat using brushes.

Video Tutorial

Video Tutorial Transcription

Hi there, in this video, we're going to talk about how to use Relief Maker outputs inside 3D Coat as brushes. Process could not be simpler. Here we are in Relief Maker, and we want to be able to make a relief of this 3D scene and apply that as a brush inside 3D Coat.

So the first thing that we need to do is figure out the orientation of the relief that we want. And our objective is to show something with a lot of energy and movement and depth. And so we want to be able to see everybody's faces.

So we're going to orient the model something like this. Because we're going to be in a 3D application, we might want to crank up the output width and height since we're going to be working with high-res stuff inside 3D Coat. So why don't we choose 2048 by 2048 as the output.

And we don't really need to mess with any of the other settings. We're going to be able to modify the height scale downstream inside 3D Coat if we choose to do that. So we don't need to worry too much right now about what it looks like inside Relief Maker.

Let's press Generate Relief. And after just a few seconds, there it is. We can see that the relief really captures the depth incredibly well.

And now all we have to do is bring it inside 3D Coat. So the way we're going to do that is File, Export Relief. And we're going to save this as a 16-bit height map.

And let's call this Dancers. Now let's jump into 3D Coat. And here we have our scene.

We're going to be in the Sculpt tab. And it's important to know that we need a model subdivided appropriately for what you're trying to do. So in this case, we want the brush to be able to apply a really high-res output.

So we've subdivided the model appropriately to make that happen. What we're going to do is open up Brushes tab by pressing T. And we're going to scroll down to the bottom to the plus section, Open Texture File. And here we're going to choose Dancers.

Select that. Press OK. And now we can make it bigger or smaller.

The preview that you're going to see is going to be low resolution. You can see right here. But if we were to left-click, we see that we get a really incredible output.

So if we zoom in, we can get a good sense of the depth. And we can see that this is a little too exaggerated for what we want. So why don't we press Control-Z.

And we're going to hold the right mouse button. And we can see that if we hold that, we can control how deep it's going to be. So let's make it a little bit more towards the bottom.

And we'll try again. And we're almost there. We'll go even a little bit less.

And there we go. That is what we want. So you can use this workflow to apply incredible detailing from other 3D models onto a target 3D model inside 3D Coat, achieving incredible detail and beauty, things that you could otherwise never do manually or that would be so time-consuming you wouldn't want to.

Anyway, we hope this video showed you how you can use 3D Coat and Relief Maker together. And we can't wait to see what you make.